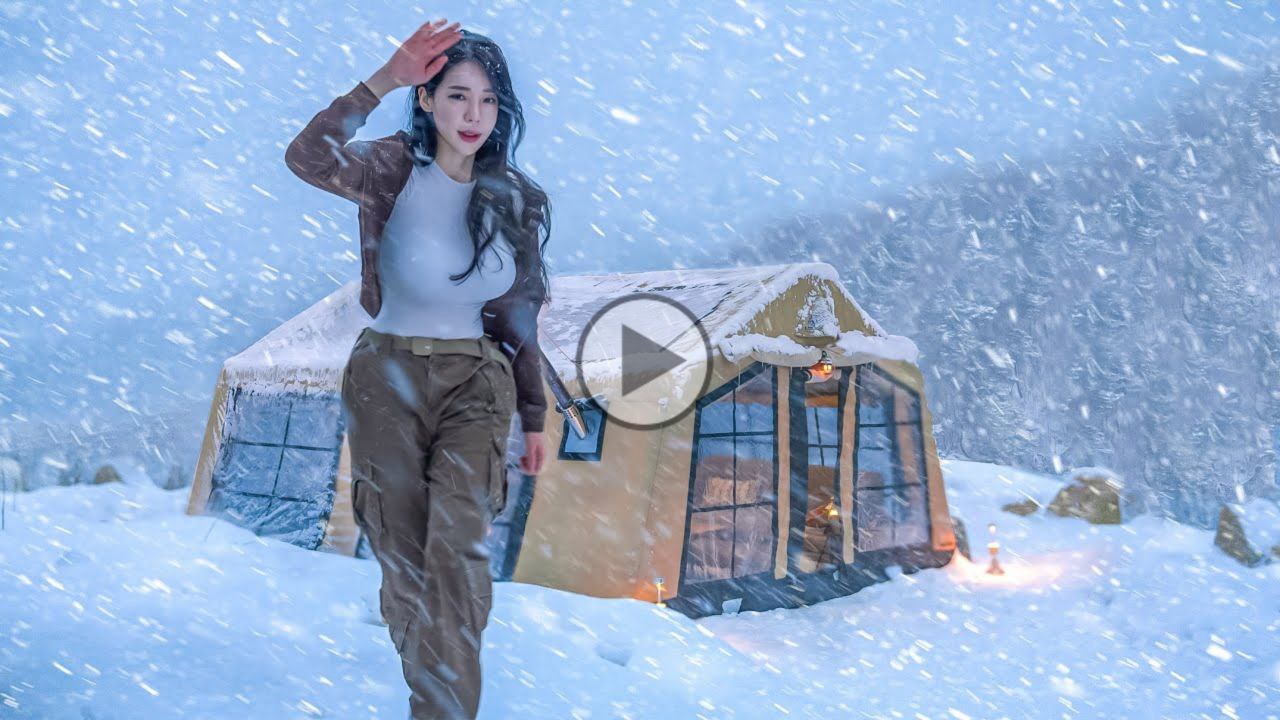
❄️Camping in Heavy Snow with a 2-Room Inflatable Tent
Camping in heavy snow can be an exhilarating experience, but it requires careful preparation, especially when using a 2-room inflatable tent. These tents are convenient and easy to set up, but they must be properly equipped and managed to handle the challenges of snowy conditions. Below is a detailed guide on how to camp safely and comfortably in heavy snow with a 2-room inflatable tent.
1. Choosing the Right Inflatable Tent for Snow Camping
Not all inflatable tents are designed for extreme winter conditions. When selecting a 2-room inflatable tent for camping in heavy snow, ensure it meets the following criteria:
Four-Season Rating: The tent should be rated as a four-season or winter tent. This ensures it is built to withstand heavy snow loads, strong winds, and freezing temperatures.
Durable Materials: Look for high-quality materials such as ripstop nylon or polyester with reinforced seams. The fabric should also have a high waterproof rating (measured in mm) of at least 3,000 mm to prevent water from seeping through.
Strong Air Beams: Inflatable tents rely on air beams instead of traditional poles. Ensure the air beams are made from durable materials like thermoplastic polyurethane (TPU) that can withstand cold temperatures without losing pressure.
Snow-Shedding Design: A sloped roof design helps prevent snow accumulation on top of the tent, reducing the risk of collapse under heavy weight.
2. Preparing Your Campsite
Proper site selection and preparation are critical when camping in heavy snow:
Location Selection:
Choose a flat area that is sheltered from strong winds, such as near tree lines or natural windbreaks.
Avoid camping directly under trees with heavy snow-laden branches that could fall due to wind or melting.
Stay away from avalanche-prone areas if you’re camping in mountainous terrain.
Clearing Snow:
Use a shovel to clear an area slightly larger than your tent footprint down to compacted snow or ground level if possible.
Create a slight depression around the perimeter of your campsite to help channel any melting snow away from your tent.
Insulation Layer:
Lay down an insulating layer such as foam mats or tarps beneath your tent to prevent heat loss through the floor.
3. Setting Up Your Inflatable Tent
Setting up an inflatable tent in snowy conditions requires extra care:
Inflation Process:
Inflate the air beams using a manual pump (avoid electric pumps unless you have reliable power). Cold weather can cause air pressure fluctuations; check and adjust pressure periodically during your trip.
Anchoring:
Use sturdy stakes designed for snow (e.g., long aluminum stakes or deadman anchors). Bury them horizontally into compacted snow for maximum hold.
Secure guy lines tightly and reinforce them with additional anchors if high winds are expected.
Snow Barriers:
Build low walls of packed snow around your tent to act as windbreaks and reduce drifting snow against the sides of your shelter.
4. Managing Snow Accumulation on Your Tent
Heavy snowfall can put significant stress on an inflatable tent’s structure:
Regularly brush off accumulated snow from the roof using a soft-bristled broom or gloved hands.
Check air beam pressure daily; cold temperatures may cause deflation over time.
If snowfall becomes excessive, consider temporarily reinforcing the roof with additional support (e.g., trekking poles placed inside).
5. Staying Warm Inside Your Tent
Maintaining warmth inside your inflatable tent is essential for comfort and safety:
Insulated Flooring: Use insulated sleeping pads or rugs inside both rooms of your tent to minimize heat loss through the floor.
Heating Options:
Use portable propane heaters rated safe for indoor use (e.g., Mr. Heater Buddy), but always ensure proper ventilation to avoid carbon monoxide buildup.
Ventilation: Even in freezing temperatures, keep vents partially open to reduce condensation buildup inside the tent.
6. Packing Essential Gear for Snow Camping
When camping in heavy snow, bring gear specifically suited for winter conditions:
Clothing:
Wear moisture-wicking base layers, insulating mid-layers (like fleece), and waterproof outer layers.
Pack extra gloves, socks, and hats since these items tend to get wet quickly.
Sleeping Gear:
Use sleeping bags rated at least 10°F lower than expected nighttime temperatures (e.g., down-filled bags rated for sub-zero conditions).
Bring thermal liners for added warmth.
Cooking Equipment:
Opt for liquid-fuel stoves that perform better than canister stoves in freezing temperatures.
Store fuel containers inside your sleeping bag overnight to prevent freezing.
Emergency Supplies:
Carry avalanche safety gear if applicable (beacon, probe, shovel).
Include emergency blankets, hand warmers, and first aid kits.
7. Safety Considerations During Heavy Snow Camping
Camping in extreme winter conditions comes with risks that must be mitigated:
Monitor Weather Conditions: Always check weather forecasts before heading out and during your trip using satellite communication devices if necessary.
Hydration & Nutrition: Dehydration occurs faster in cold weather due to increased respiratory water loss—drink plenty of fluids even if you don’t feel thirsty.
Frostbite & Hypothermia Prevention: Watch out for early signs like numbness or shivering; take immediate action by warming affected areas gradually without direct heat exposure.
Emergency Plan: Inform someone about your itinerary beforehand and establish check-in times via GPS devices like Garmin InReach if available.